Hi friends, thanks a bunch for all the kind comments on my Scrapbot Mini Album ! In this post, I’m sharing how I made Scrapbot, including the cut files, the front pocket and the stand.
If you don’t already own Paige’s Robot cut file, you can purchase it in the Silhouette Design Store or at Paige’s Etsy store, Page by Paige.

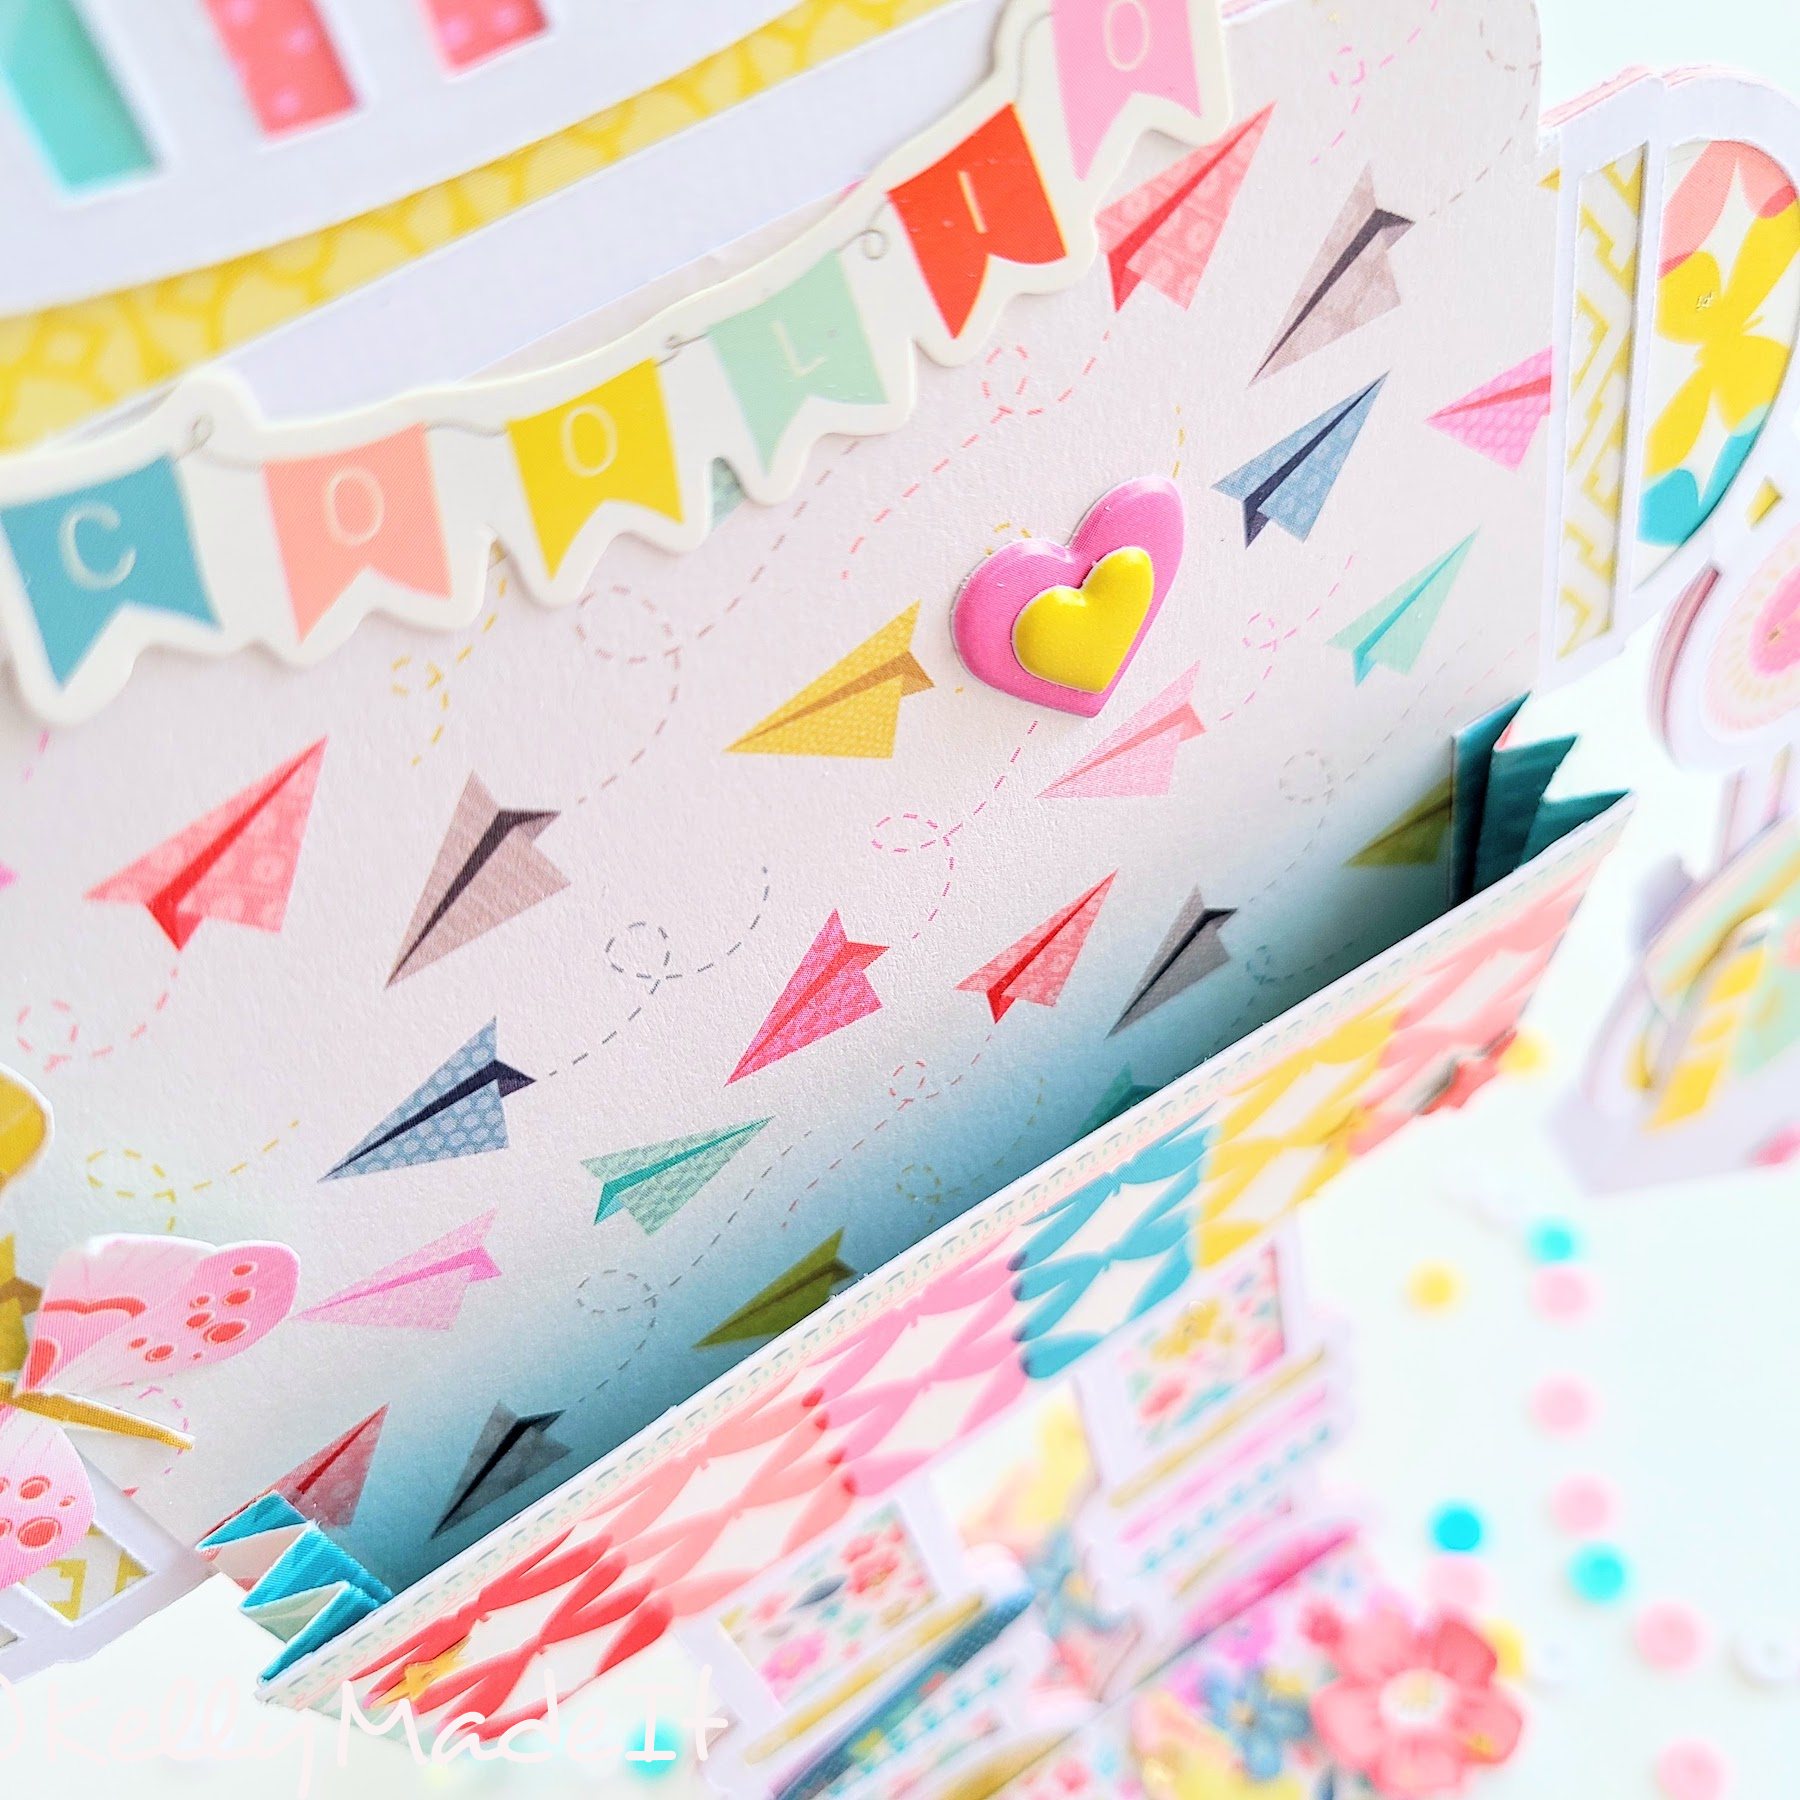
I’ve used Paige’s Turn The Paige collection. You can use the link to shop for the digital collection at the AC Digital Store if desired. I’ve always loved the florals, butterflies, colours and talk bubbles.
First up, a YouTube video to show how I made the cut files I needed. I have a Cameo 3 and used the Silhouette Design Studio.
I cut seven outlines of the Robot and glued them all together to make a sturdy base. This will help your Robot easily stand in the base and hold a mini album in the front pocket without tipping over.
Step two, here’s how I easily made the pocket on the front that holds my mini albums.
- Cut a piece of patterned paper the width of your robots tummy, plus 3″ (mine was 1.75″ x 7″)
- On both ends of the patterned paper, make 5 score lines, each .25″ apart.
- Fold the score lines on both sides accordion style.
- Add double sided sticky tape to both sides of the pocket and along the bottom and tape in place on the front of the robot.
- Trim and sand the corners for a seamless fit.
Finally, I made a base using simple tools you most likely already have.

I’ve used Little Sizzles, a Sizzix brand of Mat Board that’s easily cut and sanded. I buy it at scrapbook.com

Photo A
- Cut two pieces of Mat Board 2.75″ x 2″, glue together and sand edges (base of stand)
- Cut five pieces of Mat Board 2.75 x 1″, glue together and sand edges (back of stand)
- Cut three pieces of Mat Board 2.75 x 13/16″, glue together and sand edges (front of stand)
- You now have three blocks of glued and sanded Mat Board in various sizes and widths.
- Glue the thicker Mat Board block to the back edge of the 2.75″ x 2″ base stand.
Photo B
- Hold your Robot in place (where it will stand) and glue the thinner Mat Board block to the front edge of the 2.75″ x 2″ base stand.
-
- NOTE: you want the robot to fit snuggly but so that it can slide in and out of the stand
- from the side, the stand looks like this.
Photo C
- Sand your entire stand.
- (optional) paint the stand with a coat of Gesso, except in the ditch where the robot stands
- Paper and decorate as desired.
I had the most fun giving Scrapbot personality. The shopping bags that Scrapbot carries are cut files by Lori Whitlock, the Heart Gift Bag and the Treat Bag. The paint tubes, paint brushes and clouds are puffy stickers from the Whimsical collection, I got them at Michaels.


Please let me know if you have any questions at all !
Thanks so much for coming by 💓 xK

That is a cute scrapbot, Kelly!
LikeLiked by 1 person
Hi hi Lavinia 💛 Thanks so much. Limited outings here mean filling my time with fun paper things 😁I get a giggle every time I walk by her.
LikeLiked by 1 person
What fun.
LikeLiked by 1 person
Aw thanks a bunch Derrick! Silly things to pass the covid time! Thank goodness I have an indoor hobby!
LikeLiked by 1 person