Hello friends, back today with a new layout for Paige Taylor Evans’ Silhouette Design Team. I’ve scrapped an amazing trip to Italy and our visit to Trevi Fountain in Rome using Paige’s fabulous new, Go The Scenic Route.
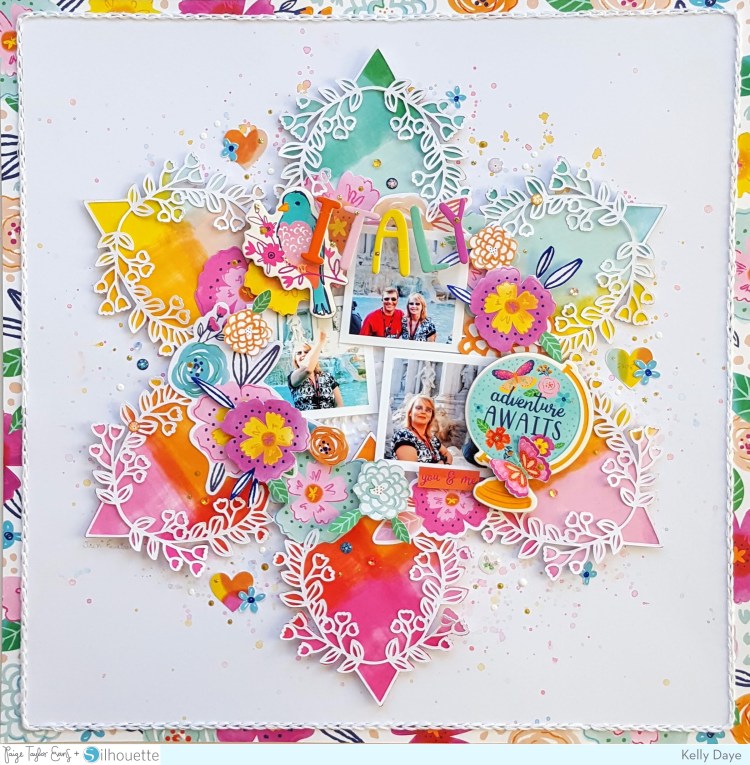
When I saw Diamond Plant #330591 ,one of Paige’s newest cut files, I imagined all the fun ways I could use it. It’s one of the things I really love about Paige’s cut files, they’re so versatile!
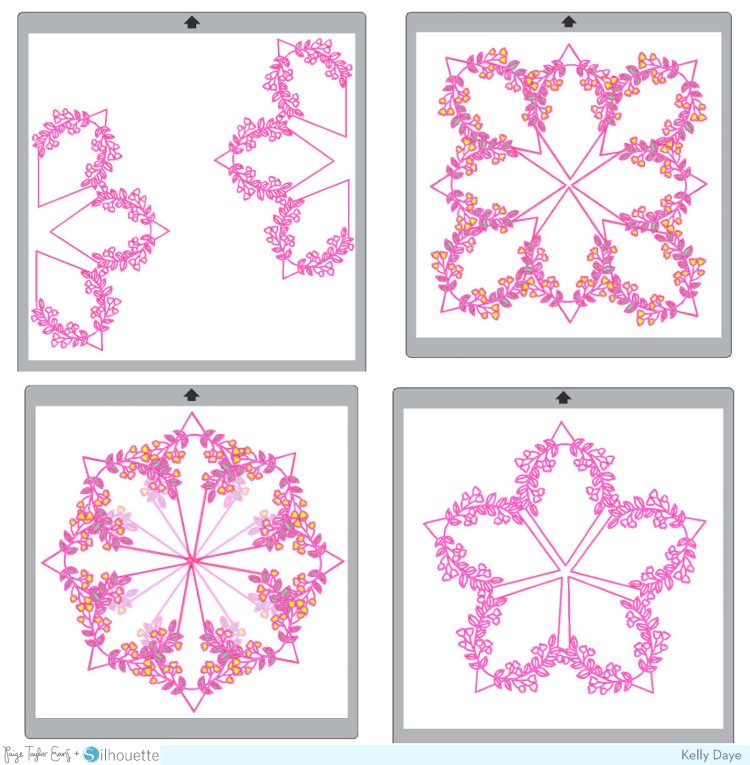
If any of those designs appeal to you, go for it! After sizing the cut file for my design, I cut six out of White AC Cardstock on my Silhouette Cameo 3. Next, I used Prima watercolours, Pastel Dreams and Tropicals, to splatter the centre of another piece of white cardstock used as my background.

I was keen to use the B side of Paper 21. Is it not just totally awesome?! To make the paper-backing for the cut file, I released the compound path of the cut file and dragged away the outside edge. I cut out six and glued them to the white cut file. Easy breezy ! I added foam tape and laid them like a star on my splattered background.
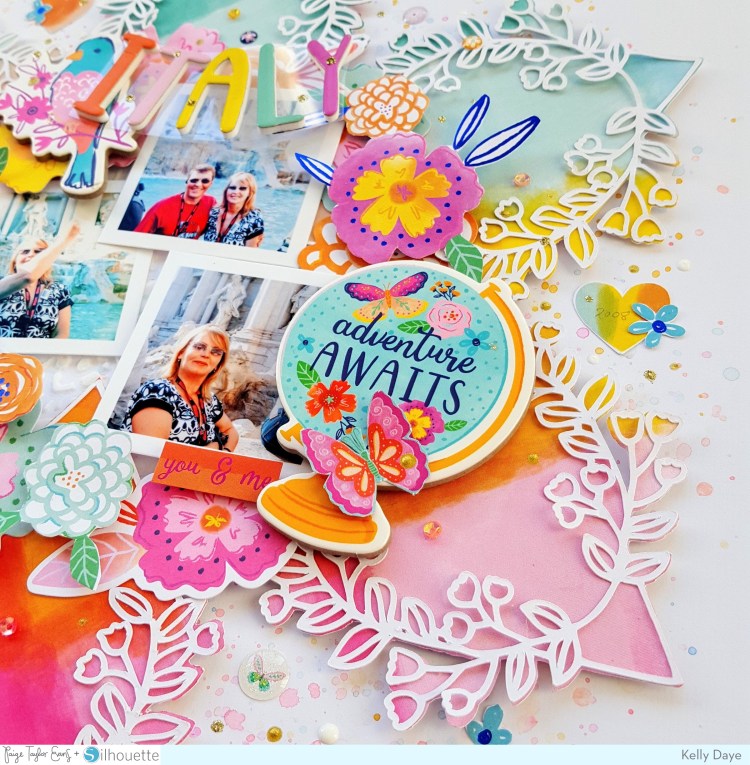
I’m completely smitten with all the gorgeous ephemera in this collection. The colours and images are so beautiful and inspiring. I began embellishing by creating a wreath in the centre of my star with flowers from the Floral Die Cuts. To make a second layer of smaller flowers, I fussy cut a sheet from the 6×8 Paper Pad and added them with foam tape. I wanted a couple of focal points within the wreath and choose the aqua Bird and Atlas from the 12×12 Chipboard Stickers. I popped in a tiny phrase sticker, You & Me, from the Cardstock Stickers.
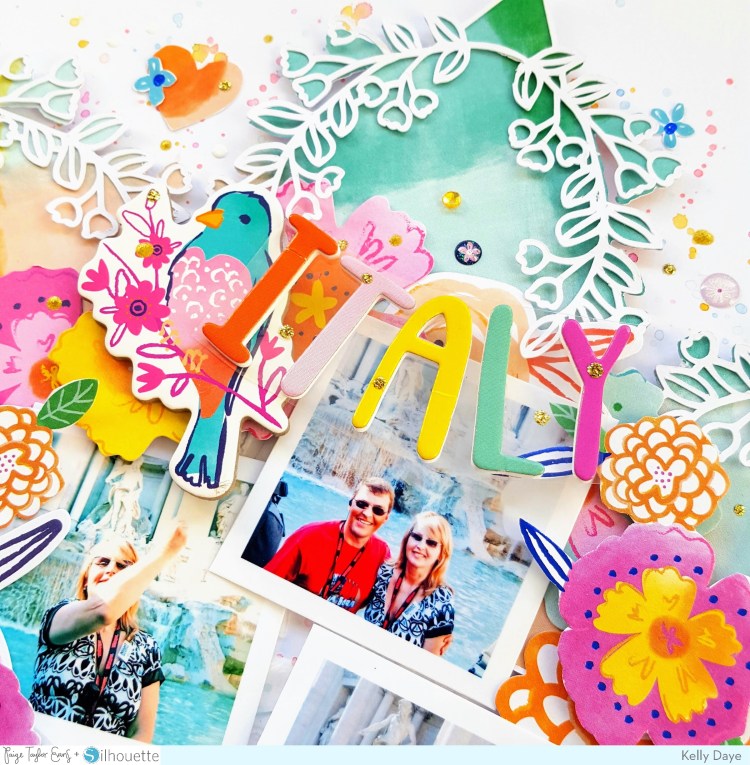
Finishings touches! I made my title, ‘ITALY’, with the Foam Thickers. Does it look like it’s floating over the wreath? The letters were place on a small piece of clear acetate, one side is glued to the bird and the other side to a flower. Voila, magic! A few tiny Enamel Stickers added the glitter I love along with some sequins from my stash. After a short look-see at my design, I fussy cut three hearts and a few mini blue flowers also from the 6×8 Paper Pad and glued them around the star.
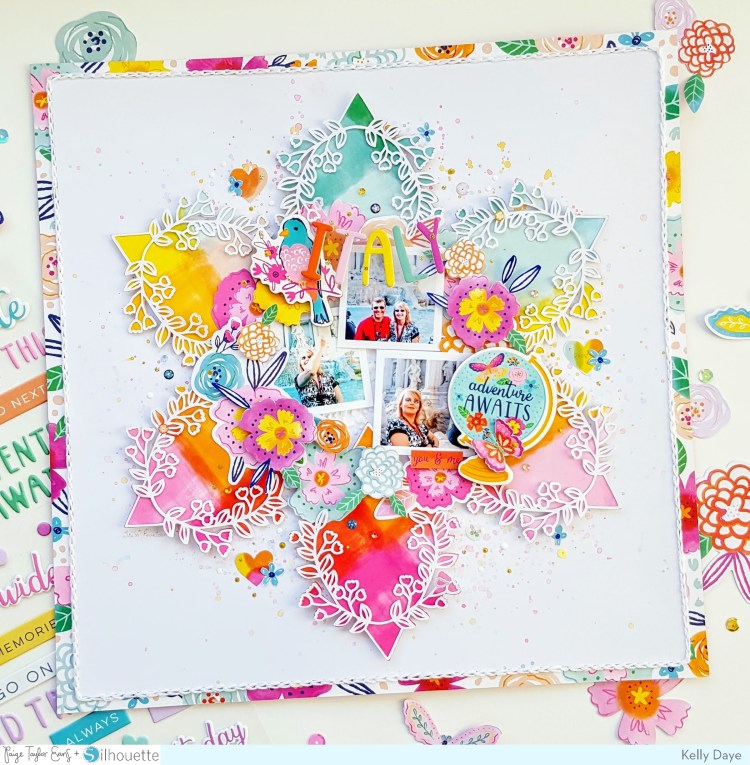
Since I always love an interesting boarder, I cut the whole design down to 11.25 “ and taped it to the B side of Paper 18 and finished it all off by chain stitching around the boarder with 6 strands of White DMC Embroidery Floss. Then I stood back, “yep, now I’m done”. You just know, don’t you?
I hope you found a couple of ideas for your own
beautiful creations. See you again soon, Kelly.

You are amazing Kelly. This is incredible.
LikeLiked by 1 person
Lindy, you’re are so good to me. Thanks for this my dear. I’m now waiting for more of Paper 21 from scrapbook dot com because I know I’ll want to use it again. Have a wonderful week my friend! xo Hugs K
LikeLike
So beautiful and colourful. You always amaze me how a silouette cut file catches you and you have an eye for the perfect paper, “the Scenic Route.” I’m so intrigued with your layout and all you put together to come out with a beautiful ending. You are such an Artist. Love it💖💖
LikeLiked by 1 person
Blushing !! See how easy it is to create something that looks intricate but isn’t really? It’s a matter of the more you do, the easier ideas come because you know what Silhouette can do. Thank you so so much for the nicest message I could hope for Patricia. You’re just awesome xK ❤️🥰
LikeLike
This is beautiful work, Kelly. I enjoy seeing all these designs!
LikeLiked by 1 person
Good Morning my dear and thank you so much. I’ve been crafting 7/24 but did stop by to see your new post. I’m so sorry to read about Abby. Arms around you for your loss. I breakdown whenever I hear of a family having to make the unbearable decision to say goodbye. Wishing you comfort at this time 🥰
LikeLiked by 1 person
Thank you, Kelly. ❤
LikeLiked by 1 person
Sorry about your trip, but you have made the best of the situation
LikeLiked by 1 person
Hi Derrick, thanks so much for your visit ! Cheers.
LikeLiked by 1 person